Pierogi: A Doughy Delight for All Seasons
We may earn money or products from the companies mentioned in this post.
Ever tried making pierogi and ended up with dough that could double as a hockey puck? 😅
Don’t worry, I’ve been there too. But after years of trial and error, I’ve nailed the perfect pierogi recipe.
Get ready to impress your friends and family with these pillowy pockets of joy. 🌟
The Magic of This Recipe
Pierogi are the ultimate comfort food – versatile, delicious, and surprisingly easy to make once you get the hang of it. Whether you’re craving a savory filling like potato and cheese or something sweet like blueberry, this recipe has you covered.
What makes this recipe special? The dough is soft yet sturdy, and the fillings are customizable to suit any season or mood. Plus, they freeze beautifully, so you can make a big batch and enjoy them whenever the craving strikes.
Think of pierogi as the Eastern European answer to dumplings – but with a personality all their own. 😉
Your Ingredient Checklist
- 2 cups all-purpose flour – the backbone of your dough. Use a kitchen scale for accuracy if you can.
- 1/2 cup warm water – not too hot, or it’ll kill the dough’s elasticity.
- 1 large egg – for richness and structure.
- 1/2 tsp salt – because bland dough is a crime.
- 2 tbsp sour cream – the secret to tender, melt-in-your-mouth dough.
- 2 cups mashed potatoes – for the classic filling. Use starchy potatoes like Russets for the best texture.
- 1 cup shredded cheddar cheese – because cheese makes everything better.
- 1 small onion, finely chopped – sautéed until golden for extra flavor.
- Butter and sour cream – for serving. Don’t skimp on these!
Making it Happen
- Make the dough: In a large bowl, mix the flour and salt. Add the egg, sour cream, and warm water. Knead until smooth (about 5-7 minutes). Cover with a towel and let it rest for 30 minutes. Pro tip: Resting the dough makes it easier to roll out.
- Prepare the filling: Mix the mashed potatoes, cheddar cheese, and sautéed onions. Season with salt and pepper to taste. Set aside.
- Roll and cut: Roll the dough to about 1/8-inch thickness. Use a glass or cookie cutter to cut out 3-inch circles.
- Fill and seal: Place a teaspoon of filling in the center of each circle. Fold the dough over to create a half-moon shape, then pinch the edges to seal. Pro tip: Dip your finger in water to help seal the edges if they’re dry.
- Cook: Boil the pierogi in salted water for 3-4 minutes, or until they float to the top. For extra crispiness, pan-fry them in butter after boiling.
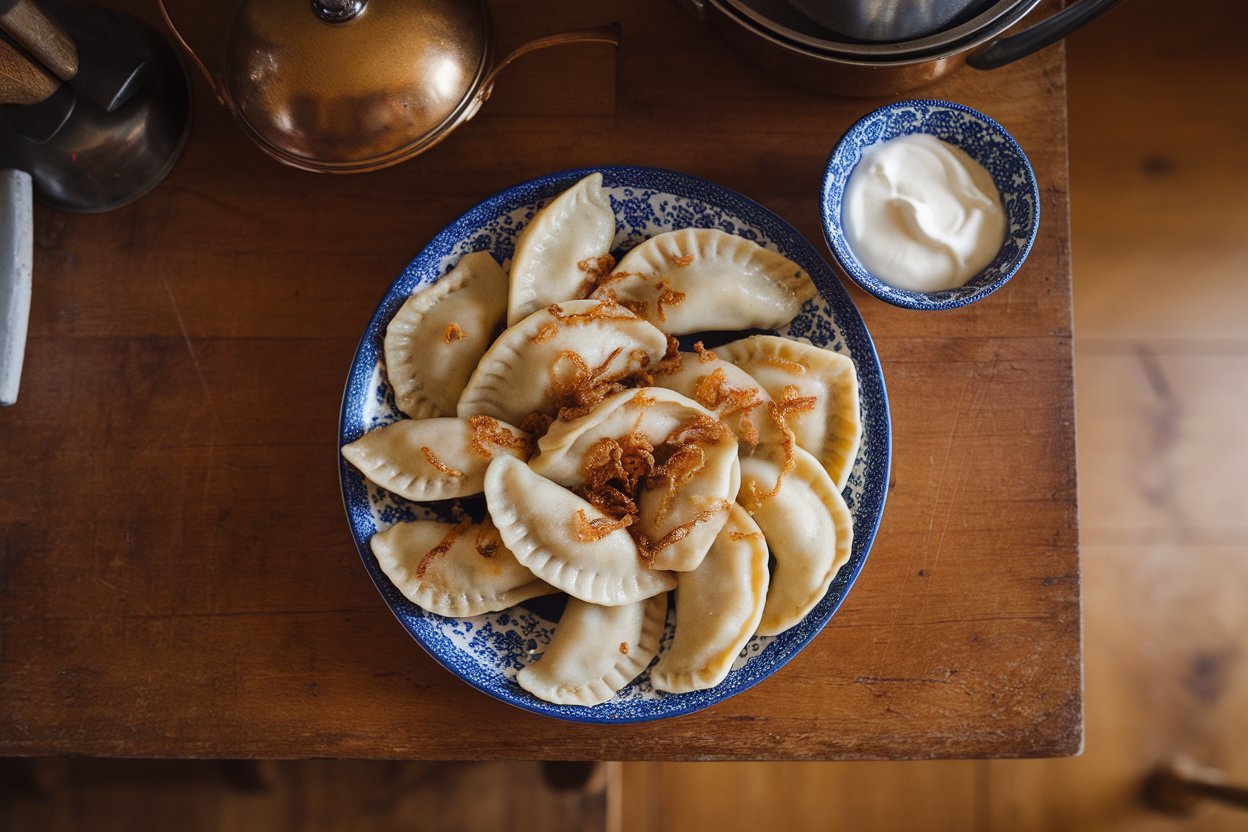
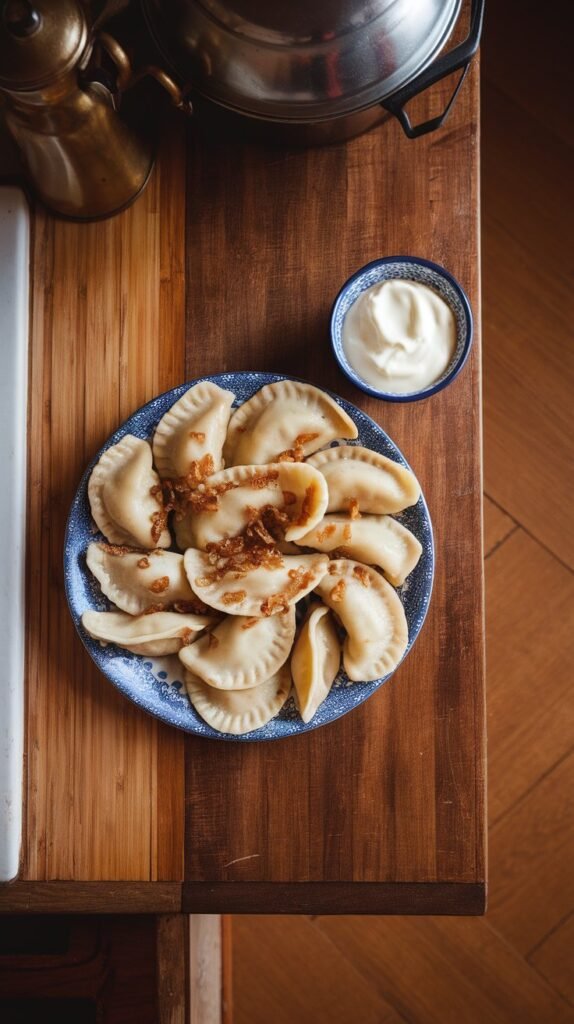
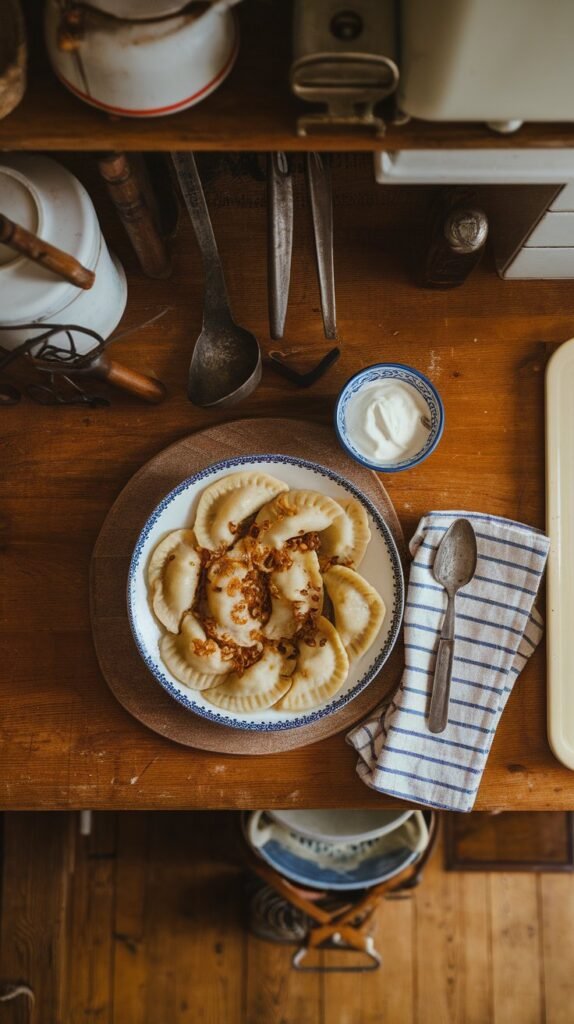
- Serve: Top with caramelized onions, a dollop of sour cream, and a sprinkle of fresh herbs. Enjoy!
Avoid These Common Errors
- Overfilling the dough: Too much filling makes it hard to seal the pierogi. Stick to a teaspoon per piece.
- Not sealing properly: If the edges aren’t sealed tightly, the filling will leak out during cooking. Use water to help seal if needed.
- Skipping the dough rest: Resting the dough makes it easier to work with and prevents tearing.
- Overcooking: Boil just until they float – overcooking makes the dough gummy.
- Using cold ingredients: Room temperature ingredients blend better, ensuring a smooth dough.
Recipe Variations to Try
Pierogi are incredibly versatile. Here are some fun twists to keep things interesting:
- Sweet pierogi: Fill with blueberries, strawberries, or sweetened farmer’s cheese. Serve with a dusting of powdered sugar or a drizzle of honey.
- Savory options: Try fillings like sautéed mushrooms, spinach and feta, or even pulled pork.
- Gluten-free: Swap the all-purpose flour for a gluten-free blend. Add a bit of xanthan gum for elasticity.
- Vegan: Replace the egg with a flax egg and use vegan sour cream and cheese.
Pro tip: Experiment with herbs and spices in the dough for an extra flavor boost. Dill or garlic powder work wonders!
Common Questions Answered
- Can I freeze pierogi? Absolutely! Freeze them uncooked on a baking sheet, then transfer to a zip-top bag. Boil straight from frozen when ready to eat.
- How long do they last in the fridge? Cooked pierogi will keep for 3-4 days. Reheat in a pan with a bit of butter.
- Can I use store-bought dough? Sure, but homemade dough is worth the effort. It’s softer and more flavorful.
- What’s the best way to reheat pierogi? Pan-fry them in butter for a crispy exterior. Microwaving can make them soggy.
- Can I make the dough ahead of time? Yes! Wrap it tightly in plastic and refrigerate for up to 24 hours.
- What’s the secret to perfect dough? Don’t over-knead, and let it rest. Patience is key!
Your Culinary Journey
Congratulations, you’ve just mastered the art of pierogi-making! Whether you stick to the classic potato and cheese or venture into sweet and savory variations, these little dumplings are sure to become a staple in your kitchen.
So, what are you waiting for? Grab your apron, roll up your sleeves, and let’s get cooking. Your taste buds (and your friends) will thank you. 🥟✨